

What Counts as a File
- Uploaded data and documents — CSV, Excel, GeoJSON/JSON, Shapefile, GeoTIFF imagery, and documents such as TXT, Markdown, Word, and PDF. See Supported File Formats for the full list.
- AI-generated data — datasets the AI creates during analysis, such as cleaned copies, converted data, or intermediate results. They are stored in the project like uploaded files.
Files vs. Layers
Files and layers are related but different:- A file is the stored data in your project.
- A layer is that data rendered on the map.
- Layers — everything currently rendered on the map, including layer source files and analysis results. See Layers.
- Data — project files that are not bound to a rendered layer, such as documents, uploaded datasets you have not mapped yet, and AI-generated data.
- Charts and Reports — visualizations and deliverables, each with its own panel.
The Data Panel
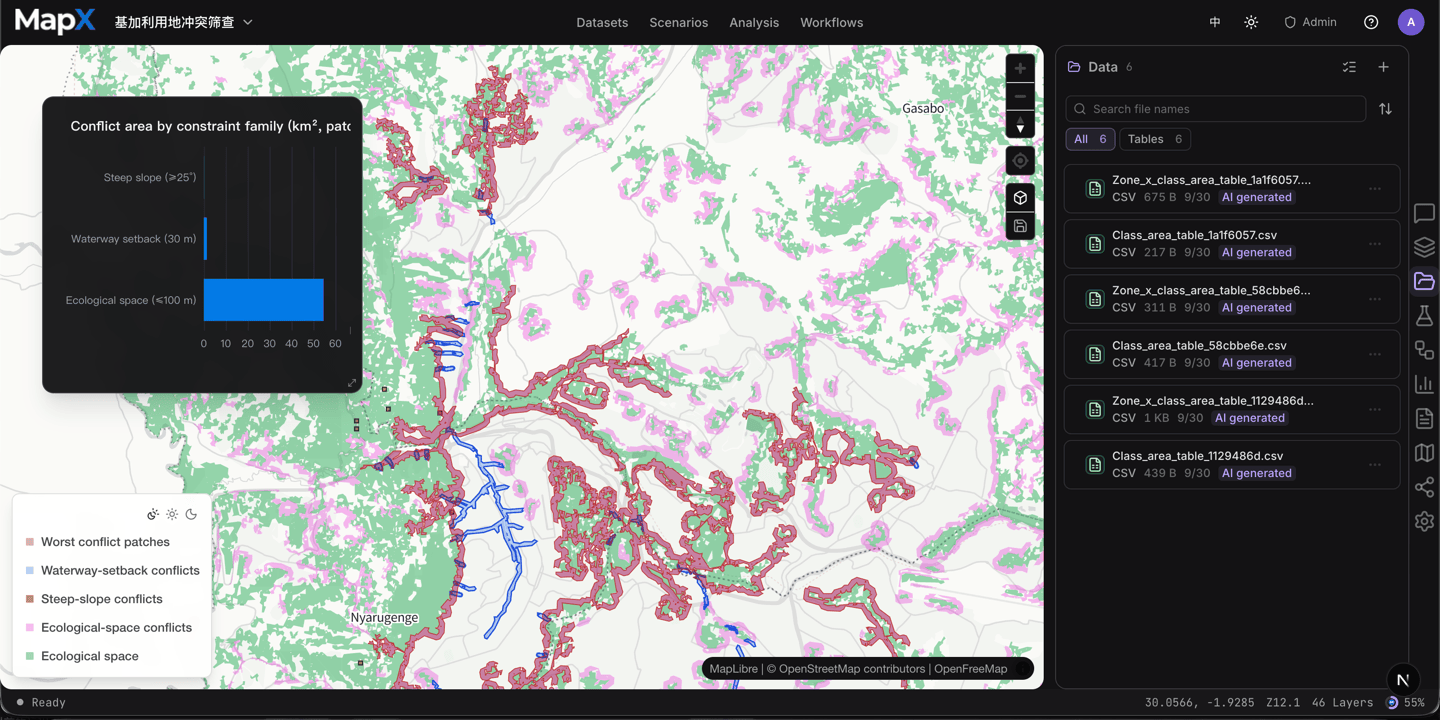
Each file row shows a format icon and name, plus the format, size, time, and provenance (uploaded or AI-generated). Use the toolbar to find what you need:- Search — filter by file name.
- Type filters — switch between All, Table, Document, Text, and Other; each chip shows how many files of that kind the project holds.
- Sort — by newest, name, or size.
- Upload files — add new data or documents to the project.
- Preview a file — click a row to open it in the preview canvas (see below).
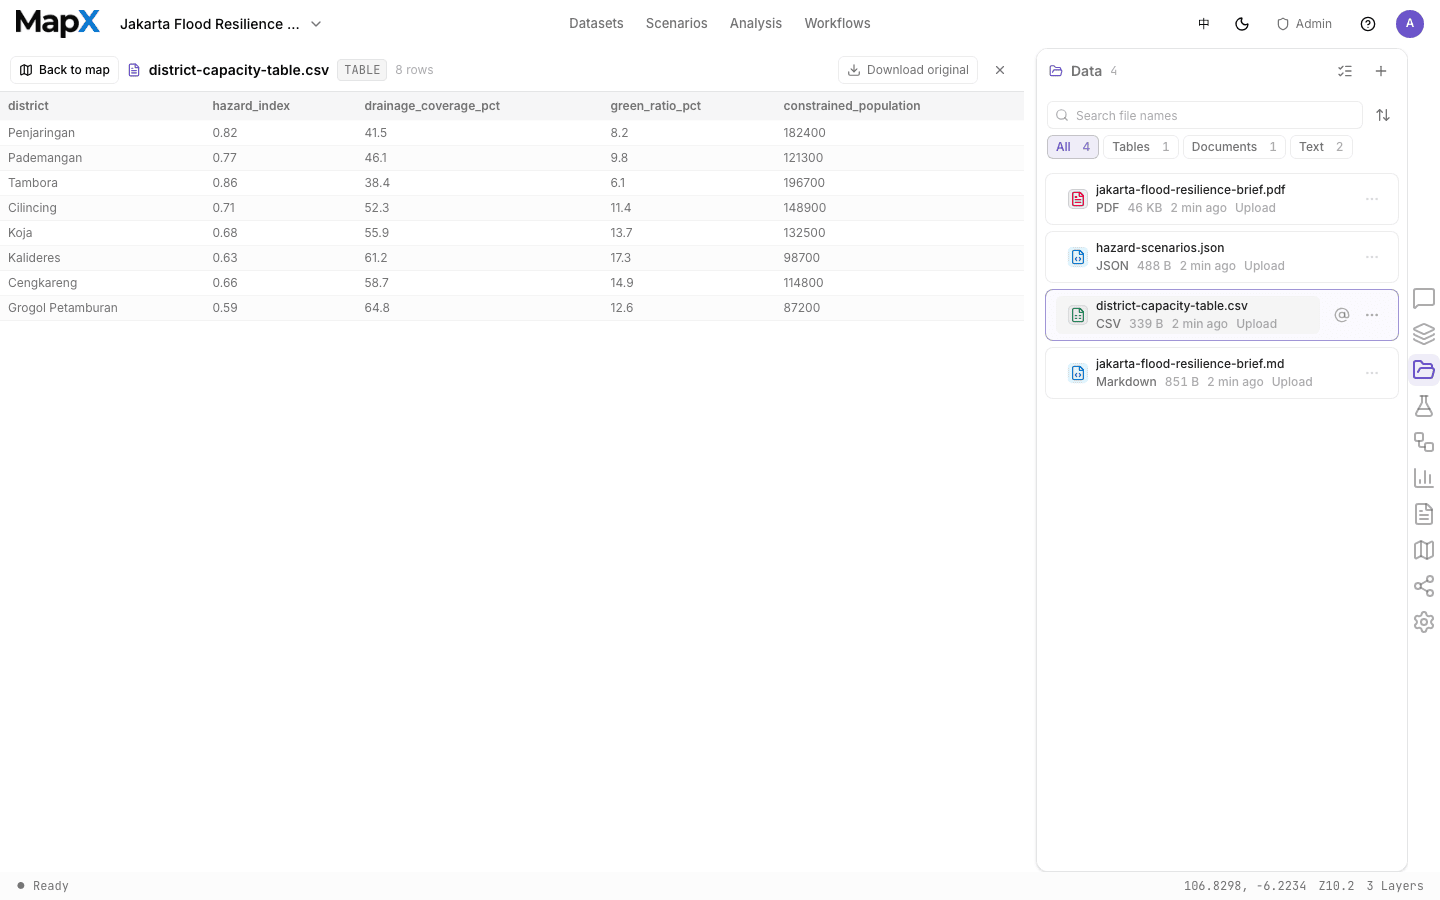
- Reference a file in chat — click the quote button on a row to attach the file to the chat, or use @ in the input to insert its name.
- Download files — single downloads are available on paid plans.
- Batch manage — enter Select mode to download or delete several files at once.
Previewing Files
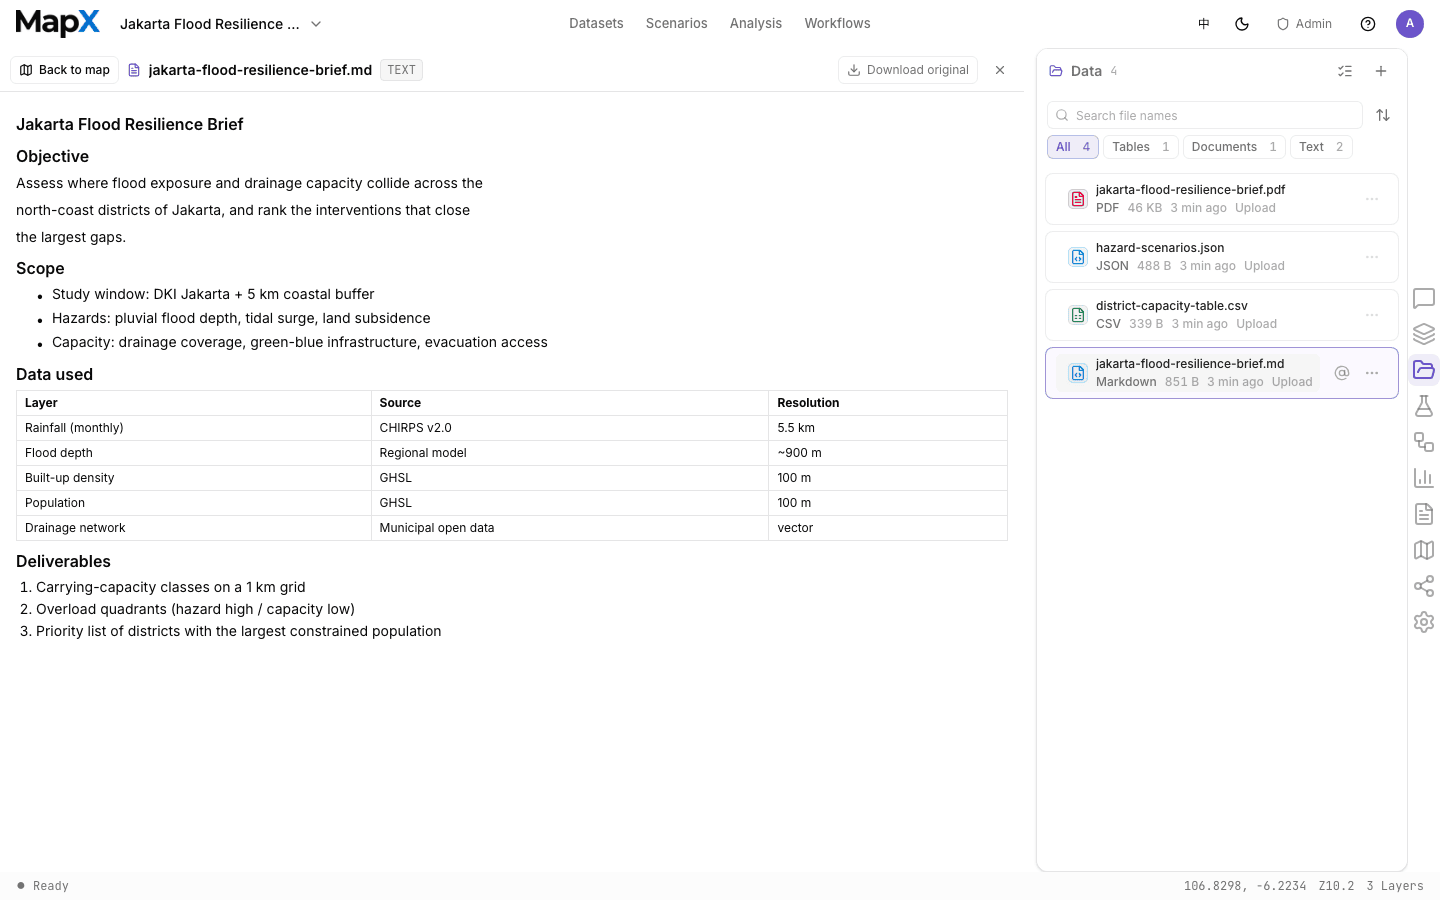
Clicking a file row (or its quote button) opens a preview canvas and attaches the file to the chat, so follow-up questions automatically apply to it. Previews are tailored to the file type:- CSV, Excel, and tabular data — rendered as a data table (the first 200 rows are shown).
- TXT, Markdown, and JSON — rendered as text with a visible row or item count when content is truncated.
- PDF and Word documents — read-only previews of the pages.
Deleting Files
Deleting a file is permanent. Files in the Data panel are standalone — deleting one does not remove layers that are already rendered; manage layer sources from the Layers panel instead. If you still need a file, download it first (paid plans) or export a project manifest as a backup.Storage counts toward your plan’s quota. Check the plans page for storage limits and the credits page for how usage is billed.