

Open the Share panel
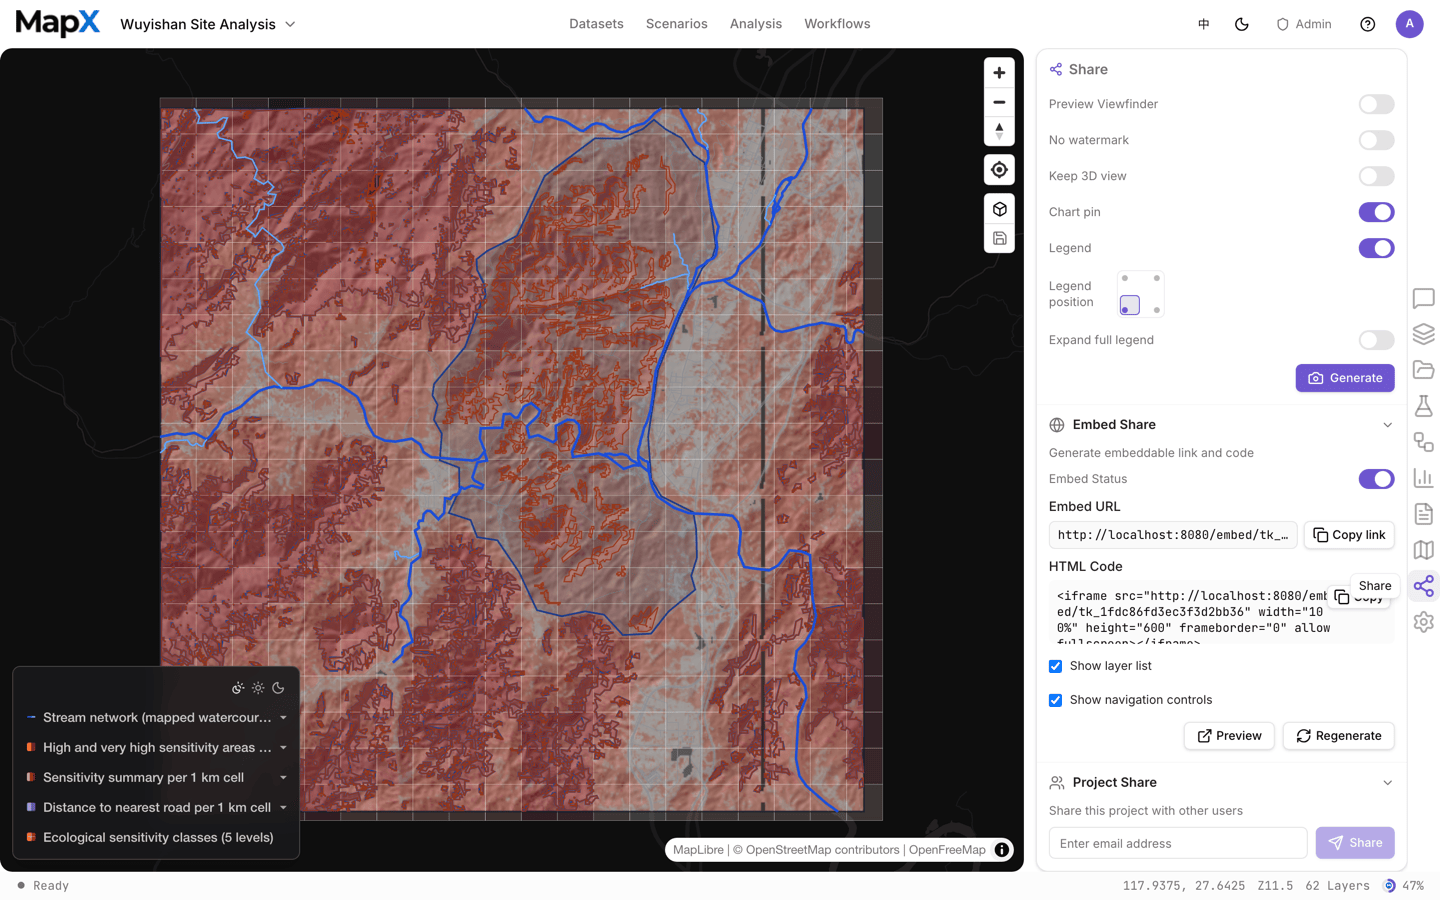
The Share tab sits in the workspace side rail, next to Layers, Data, and Analysis. It holds three collapsible sections: Social media share, Embed, and Project share.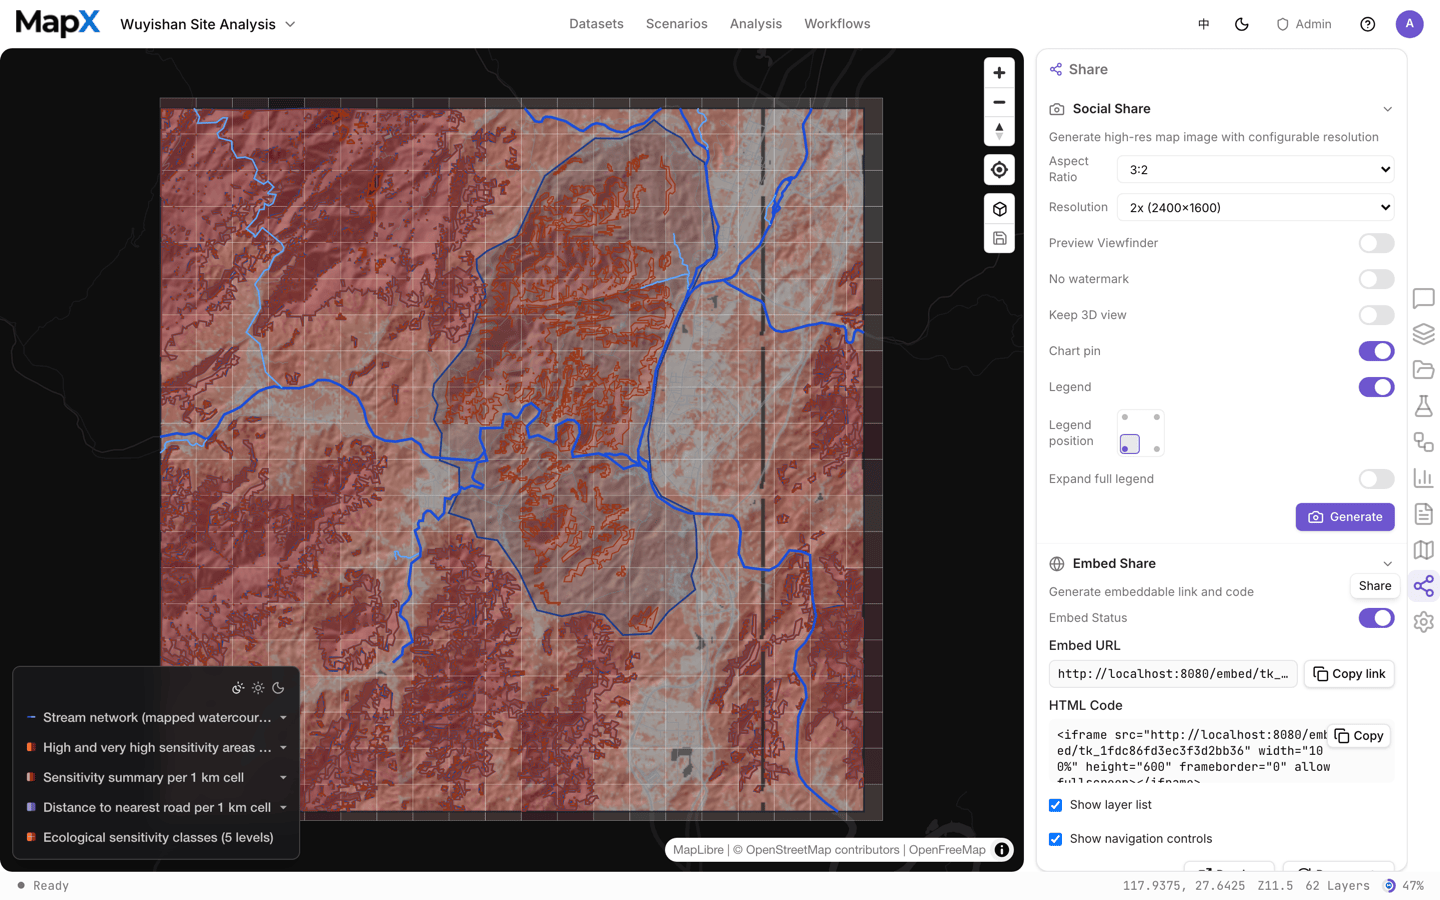
Generate a share image
The image section renders the current map as a PNG you can post, paste into a deck, or attach to a report.1
Pick an aspect ratio
Choose 3:2 (default), 16:9, 4:3, 1:1, or Auto to follow your current viewport.
2
Pick a resolution
1x, 2x (default), or 3x. The label shows the exact pixel size derived from the viewfinder: a 1200 × 800 frame at 2x exports 2400 × 1600.
3
Turn on the preview viewfinder
Preview viewfinder draws the capture frame on the map. Pan and zoom so the frame covers what you want, then drag the legend inside the frame to place it.
4
Choose what the image contains
5
Generate
Generate renders the image in your browser and downloads it as
mapx-<timestamp>.png. Nothing is uploaded and no link is created — the file is yours.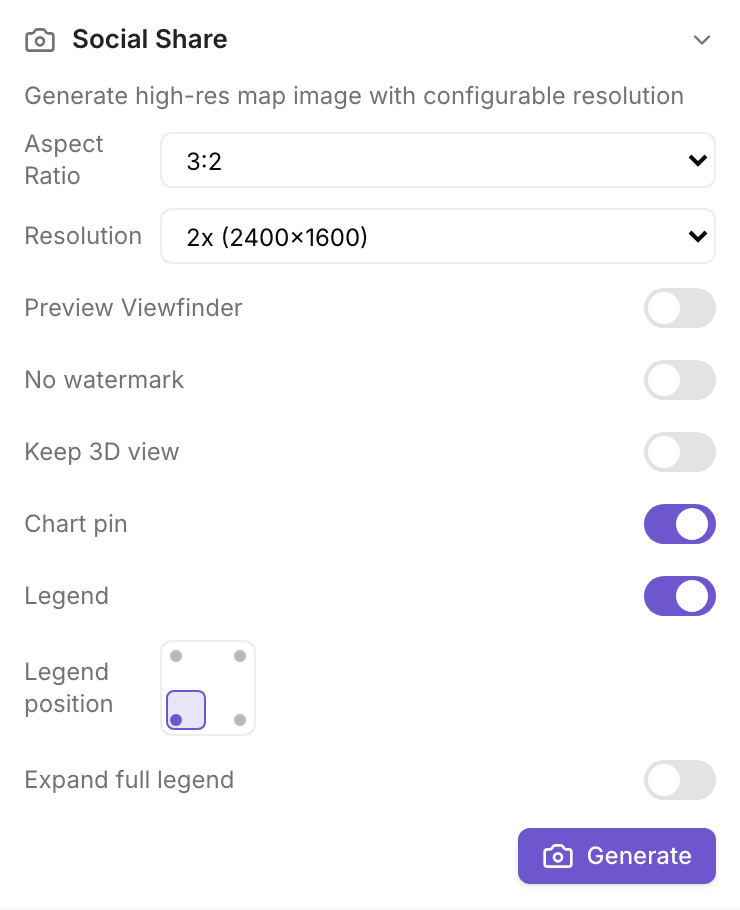
Embed the map
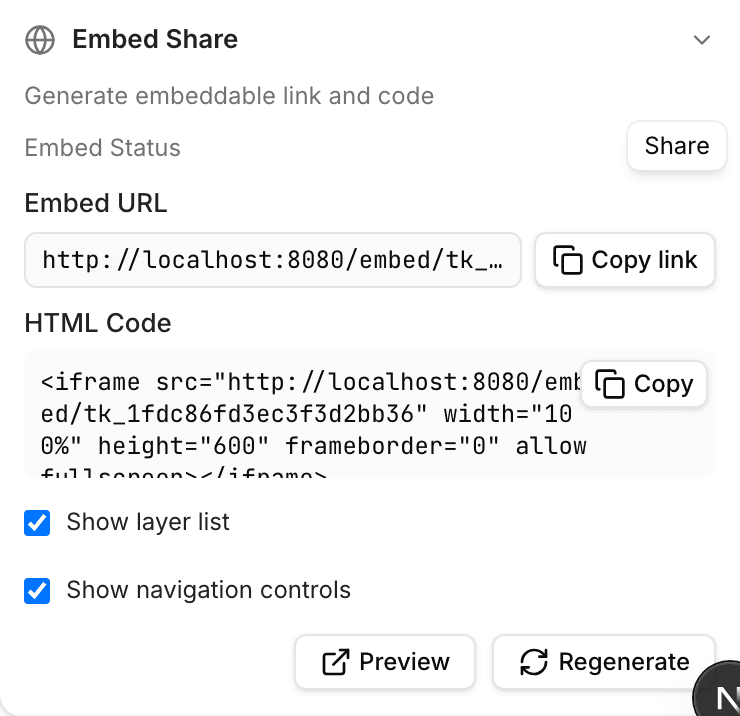
Embedding publishes the project as a read-only interactive map for any website.1
Turn embedding on
The status line shows Embedding enabled or disabled. While it is off, the embed URL renders nothing.
2
Copy the link or the iframe code
Embed link is the bare URL; HTML code is a ready-made
<iframe> snippet with width="100%" and height="600".3
Decide what viewers can touch
Show layer list and Show navigation controls add or remove the layer list and the zoom/compass overlay in the embed. Both default to on, and toggling them changes the URL that gets copied.
4
Preview, then regenerate if needed
Preview opens the live embed. Regenerate issues a new token, which invalidates every previously copied link — use it when a link has leaked.
Share a report link
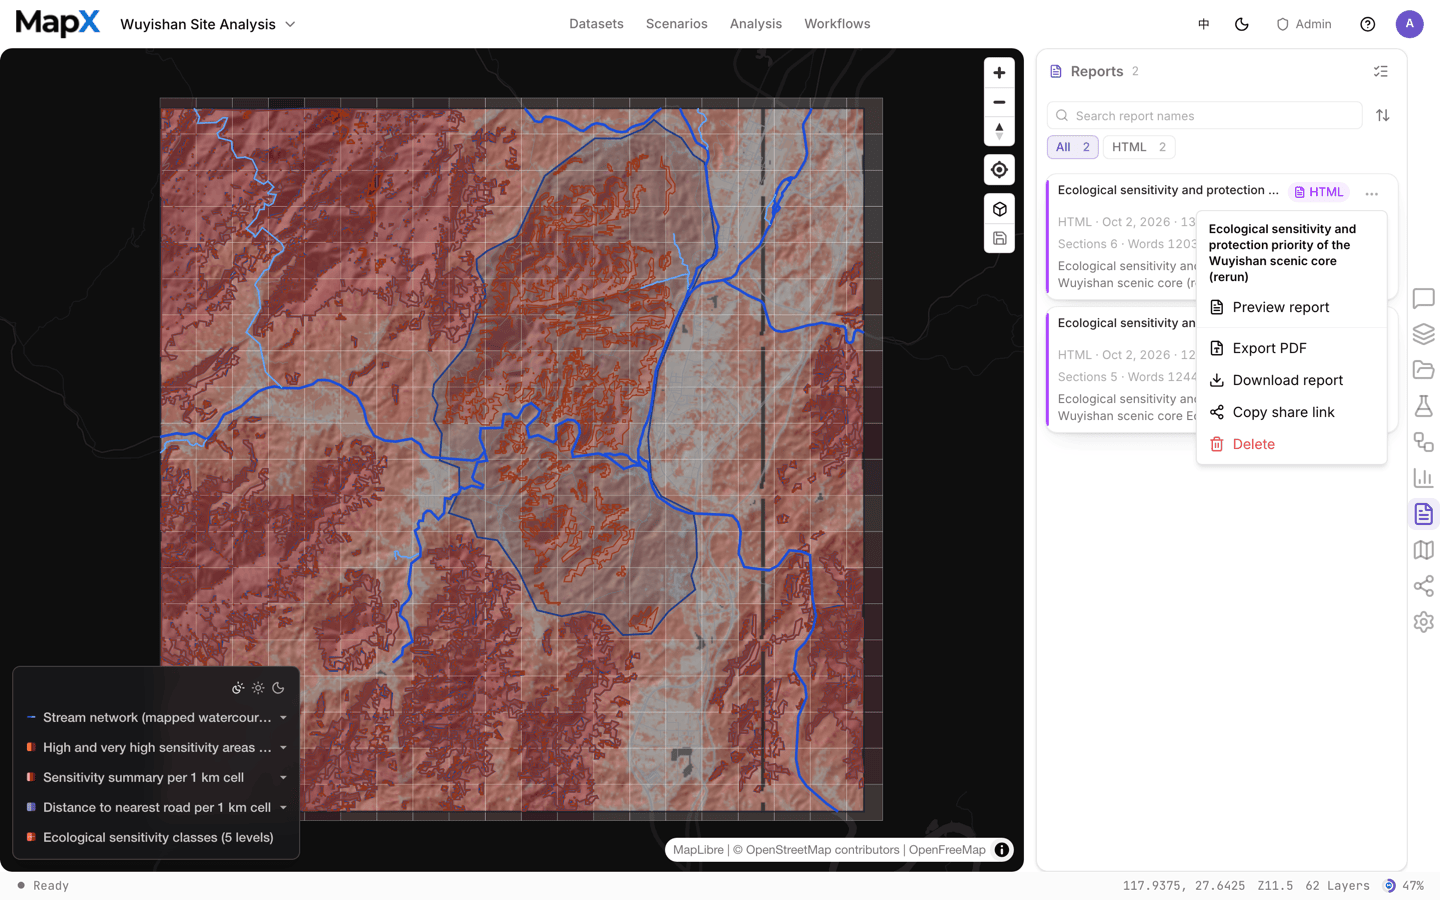
Reports are shared from the Reports panel, not from the Share panel:1
Open the Reports panel
Reports live in the workspace rail. Each row is one report revision.
2
Use the row menu
Open the row’s ⋯ menu and choose Copy share link.
3
Send the link
The clipboard gets a URL that opens the report in any browser, with no MapX account.
Live and static view URLs
The web UI produces an embed URL; the REST API and mapx CLI can also produce two view URLs for a project:Invite someone to the project
Project share grants another MapX user access to the project itself, so they can open it from their own dashboard and keep working in it.1
Enter their account email
Type the email address of an existing MapX user and choose Share.
2
Check the shared list
Everyone with access is listed under Shared with.
3
Remove access when the work is done
Use the remove button on a row to revoke that person’s access immediately.
Revoking access
Related
- Export — data files, charts, and report downloads
- Reports — build the report you want to share
- Data security — how project data is isolated and who can reach it